ReactJs 개발환경
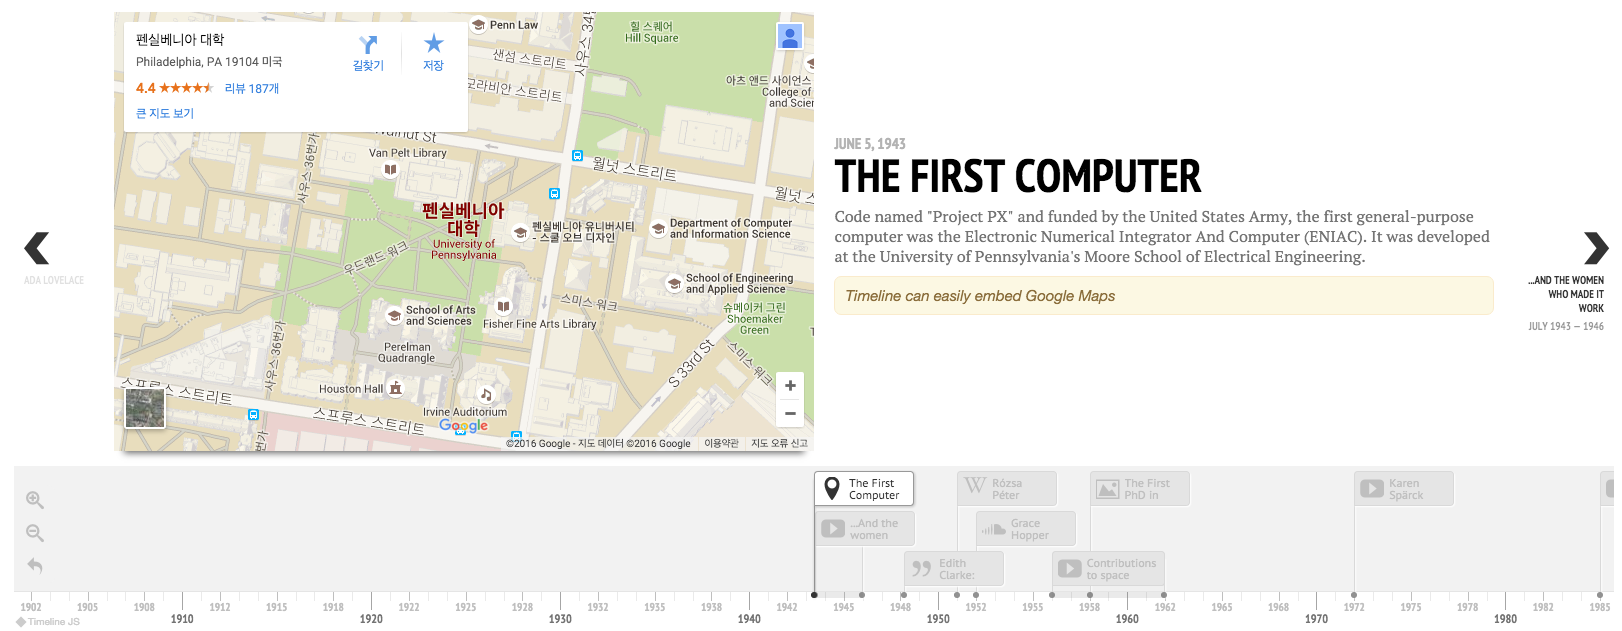
Timeline.js
Timeline.js
그래도 첫 페이지인데, 신경을 넘 안쓴것 같아 TimelineJS를 붙여보았다. 일단, 보기엔 좋넹.
필요 재료
- TimelineJS 에서 라이브러리를 다운로드 및 압축을 풀고
compiled디렉토리에 있는css\,js\디렉토리를 copy.
jekyll 수정
_includes의default.htmlindexpage일 경우에만 timeline이 보여지도록 하기위해서,page.path == 'index.md'로 판단하여 필요한css,js를 include
- timelineJS의 data
site.posts를 이용하여 timelineJS의 data json 형태로 추출.- image를 추출하기 위해 In Jekyll How do i grap a post’s first image?를 참고.
{% for post in site.posts %}
        {
         'start_date':new Date('{{ post.date | date_to_xmlschema }}'),
         'text':{
            'headline':'{{ post.title }}',
            'text': '<a href="{{post.url}}">{{ post.title }}</a>'
          }
          {% assign foundImage = 0 %}
            {% assign images = post.content | split:"<img " %}
            {% for image in images %}
                {% if image contains 'src' %}
                    {% if foundImage == 0 %}
                        {% assign html = image | split:" " | first %}
                        {% assign img = html | split:"\"" | last %}
                        {% assign src = img | split:"\"" | first %}
                        {% assign src = src | split:"=" | last %}        ,
        'media':{
            'caption':'',
            'url':{{src}}
        },
                    {% assign foundImage = 1 %}
                    {% endif %}
                {% endif %}
            {% endfor %}
        },
        {% endfor %}
- Blog
- To be professional
- Blogger
- noproblemo
- Published
- 2016-03-08
- Categories
-
- Front-end 6
- tags
-
- timelinejs 1
- jekyll 1
- Related Post
Comments
Comments